Large format tiles have grown both in stature and popularity in recent years and more and more people are using expansive tiles in a multitude of applications in which more diminutive tiles would have previously sufficed. This burgeoning trend is hardly surprising however as the the number of designs available in larger formats has increased, not to mention the fact that the bigger the tile, the fewer you need (meaning you’ll spend less cash on materials!). If you’ve got fully on board with the large format revolution and are about to embark on a new project that uses bigger tiles then read this before you start as we bring you a rundown of the five most important tilling tools you’ll need for the job…

Levelling System
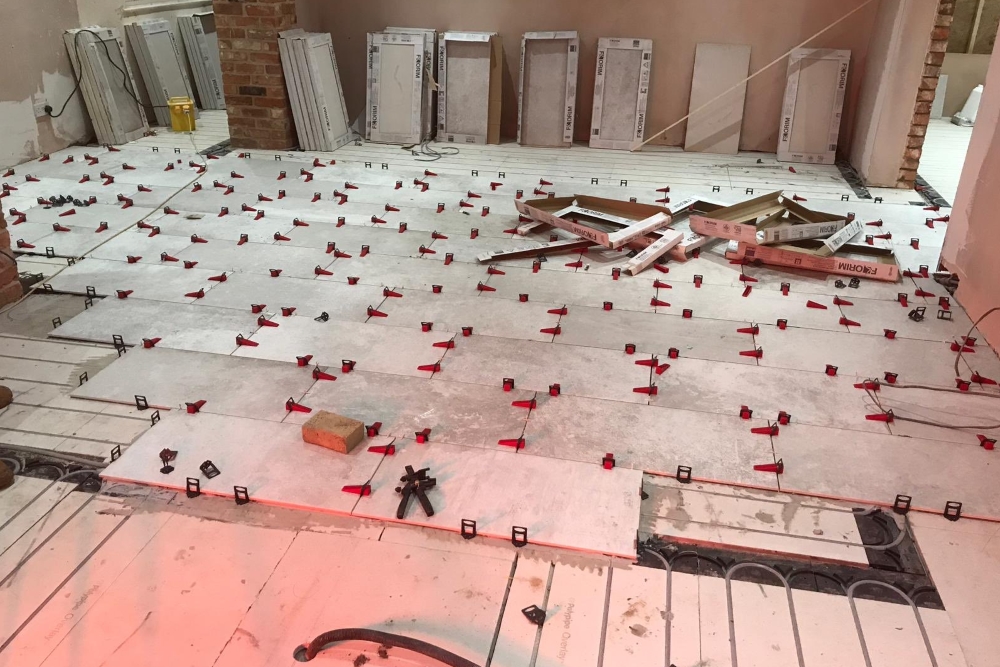
The bigger the tile, the more obvious any variations in flatness will be. A tile can be well within the British and International Standards but still have variations in flatness. Usually this doesn’t present a problem but when laying large format tile, however, variations can become apparent where one corner of a tile is slightly higher than the adjacent tile. This is called ‘lipping’ and is especially obvious when the tiles are of the ‘rectified’ type (which means they have a square edge rather than a rounded or ‘cushion’ edge). To minimise lipping we recommend using a Levelling System such as the Mustang Levelling System Starter Kit – essential kit for getting those large format tiles laid nice and level!

Suction Pads
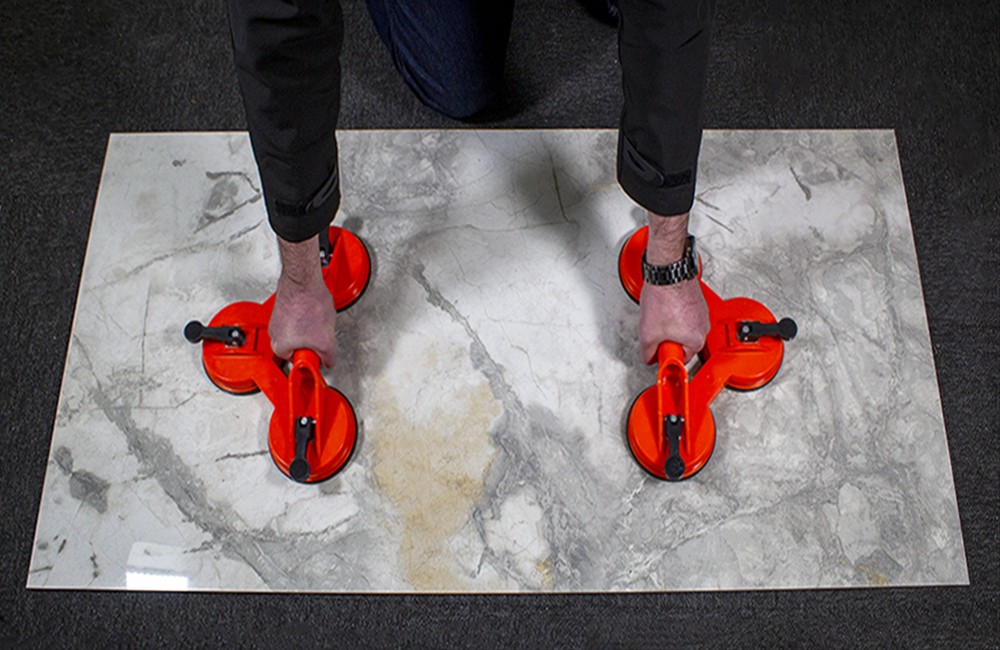
Handling large heavy tiles can be difficult and risky, so rather than humping huge tiles around using only your own appendages (or maybe those of a helpful associate!), you might want to invest in a set of suction pads. These handy devices are much like the ones you see glaziers using to carry big sheets of glass, often across a busy road, narrowly avoiding a clapped out charabanc (if you happen to be a fan of old slapstick movies!) and are relatively inexpensive. Simply attach them to your outsized tiles, use the handles to pick them up and, handle into position, then release the suction levers to free the suction pads from the surface of the tiles. Using these will minimise the chance of any breakages by allowing for safe lifting and manoeuvring of the tiles.

Profile Gauge
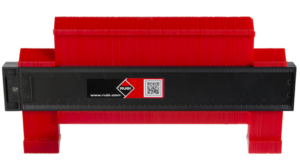
Cutting tiles to fit around obstacles such as door frames can be very tricky, so it’s advisable to get yourself a profile gauge to make things a little easier. Profile gauges are a sort of instant template tool that lets you impress the outline of a shape (maybe a door jamb or pillar edge) so you can then copy it directly onto a tile and cut-out accurately to the marking. You can do this using paper templates but a profile gauge is more accurate and will ensure your cuts are neat and tidy and minimise wastage on tiles by getting the cut right first time!

Spare Blades/Discs
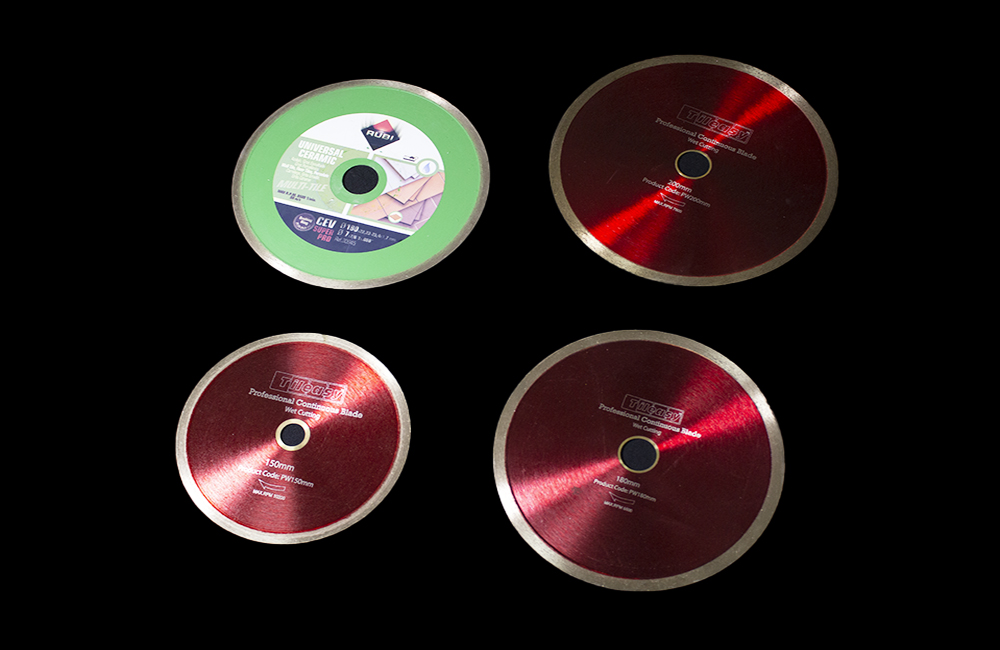
Cutting large format tiles requires the use of either a manual rail cutter or an electric cutter. Rail cutters use what is known as the ‘score and snap’ method in which a blade is dragged across the tile to form an indentation on the tile which is then manually snapped to form the cut – you can see how it works in this video. There are two types of electric cutters on the market; wet wheel cutters and mobile head cutters. The former uses a spinning diamond sintered rotating blade that is subjected to a constant jet of water to prevent the blade from overheating whereas the latter devices is more like a table-top circular saw. Whichever cutting method you opt for your cutters are working harder than usual due to the sheer size of the tiles. Ensure you don’t get stuck on a project by having spare blades or discs for when the ones you’re using become worn and less effective.

Large Notched Trowel
All types of tiling installations require a decent amount of coverage of the adhesive beneath the tile in order for the installation to be effective. Most dry area installations should aim for around 85% coverage whereas areas subjected to direct water should have 95% coverage minimum. To ensure the correct coverage levels you’ll need to invest in a notched trowel – we recommend a 20mm ‘U-Notch’ trowel such as the one pictured. Square-notched trowels can be used but as the notch shapes determine how easily the tile becomes embedded in the bed of thinset, it is easier to wiggle a tile into position on a bed of adhesive put down with a u-notched trowel than with a square-notched variant.
If you’d like to find out more about installing large format tiles then head over to our Help Centre section – it’s packed full of useful hints and tips covering all aspects of wall and floor tiling. It’s also worth noting that if you have any questions regarding installation, you can give our friendly customer services guys a call on 01782 223822 for some free, impartial advice. And don’t forget – if you have completed a project using Tile Mountain tiles, send in your photos and if we use them on our website you could receive an Amazon voucher up to the value of £20! For further information on how to submit your photos, click here.
Here at Tile Mountain, we not only have a huge range of tiles to suit every purpose, we also have a wealth of tiling knowledge gained from over 30 years in the tile industry, (which we’ll do or best to share with you across these very pages).
Whether you’re looking for the perfect tiles for your next home improvement project, are searching for some style inspiration, or simply need a bit of help and advice, you’re in the right place.
