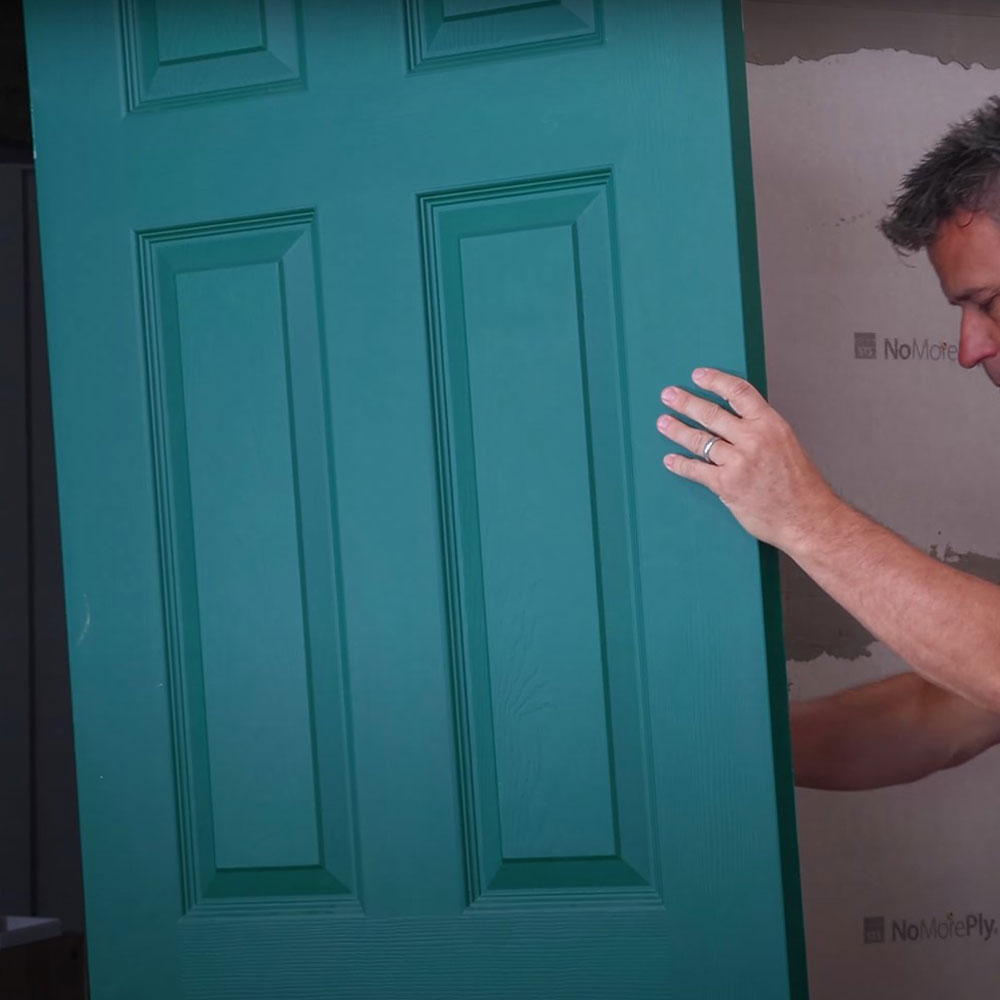
If you’re planning on laying tiles in a room where the door opens inwards, you’ll need to plan for the clearance on the bottom of the door once your tiles have been laid. When you lay your tiles, you’ll be adding height to the floor, so your door may no longer be the right size to clear this smoothly. Don’t worry though, we’ve enlisted the help of our resident DIY expert, Craig Phillips, to show you how to cut a door down to size to ensure it opens and closes smoother than butter! Here’s how it’s done.
What You’ll Need:
- Pencil/pen for marking
- Electric Screwdriver
- Workbench x2
- Clamps
- PPE (dust mask and protective glasses)
- Circular saw/ handsaw
- Power sander/ sand paper
1 – Working out how much to cut away
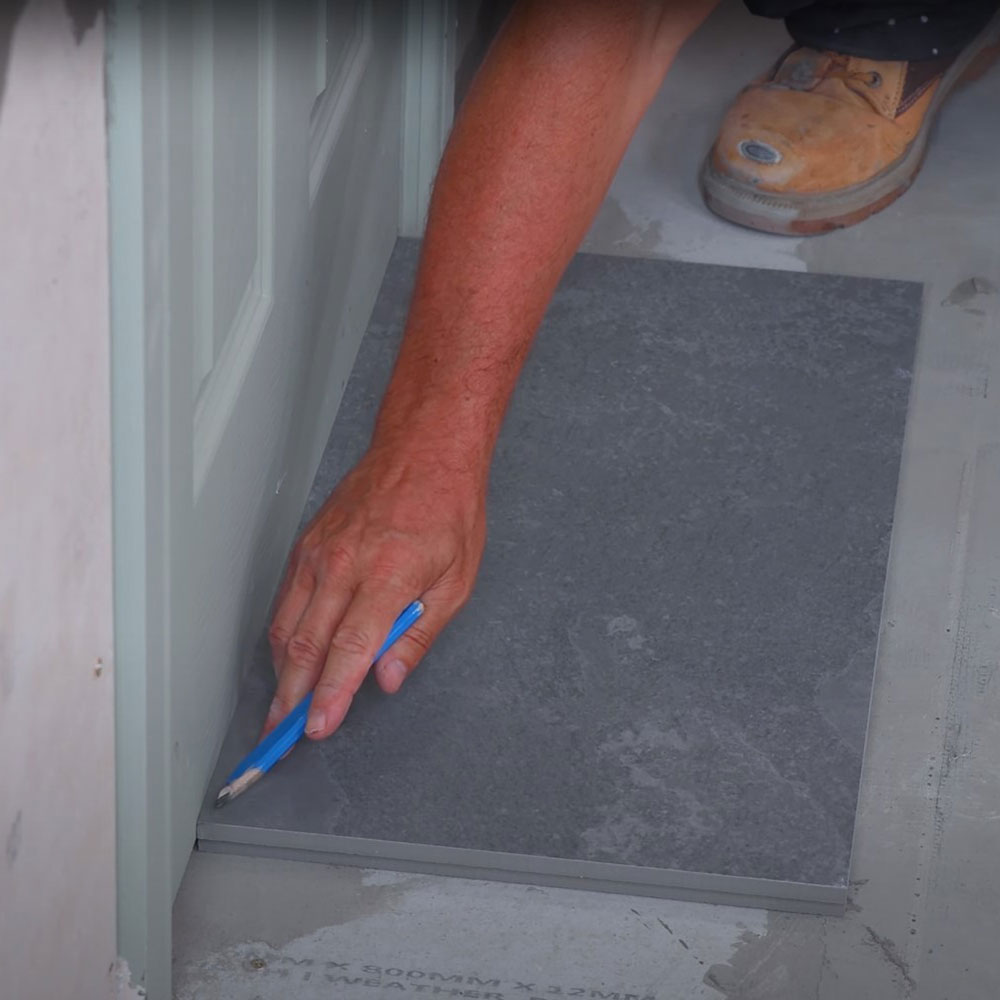
To do this, you’ll need to place one of your tiles on the floor in front of the door you’re planning to cut. Place another on top to account for the depth of the adhesive you’ll be placing underneath the tile. Where these two tiles lay on the door, draw a straight line all the way across.
2 – Remove the door
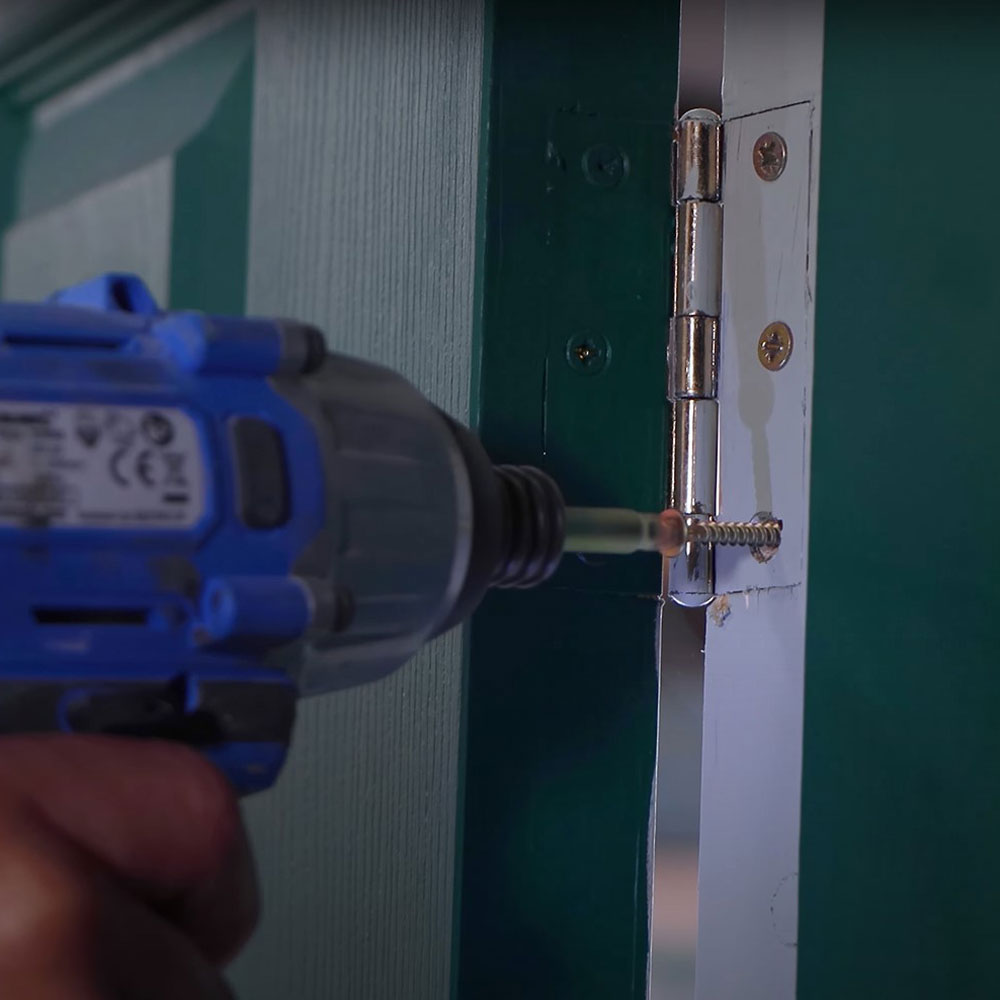
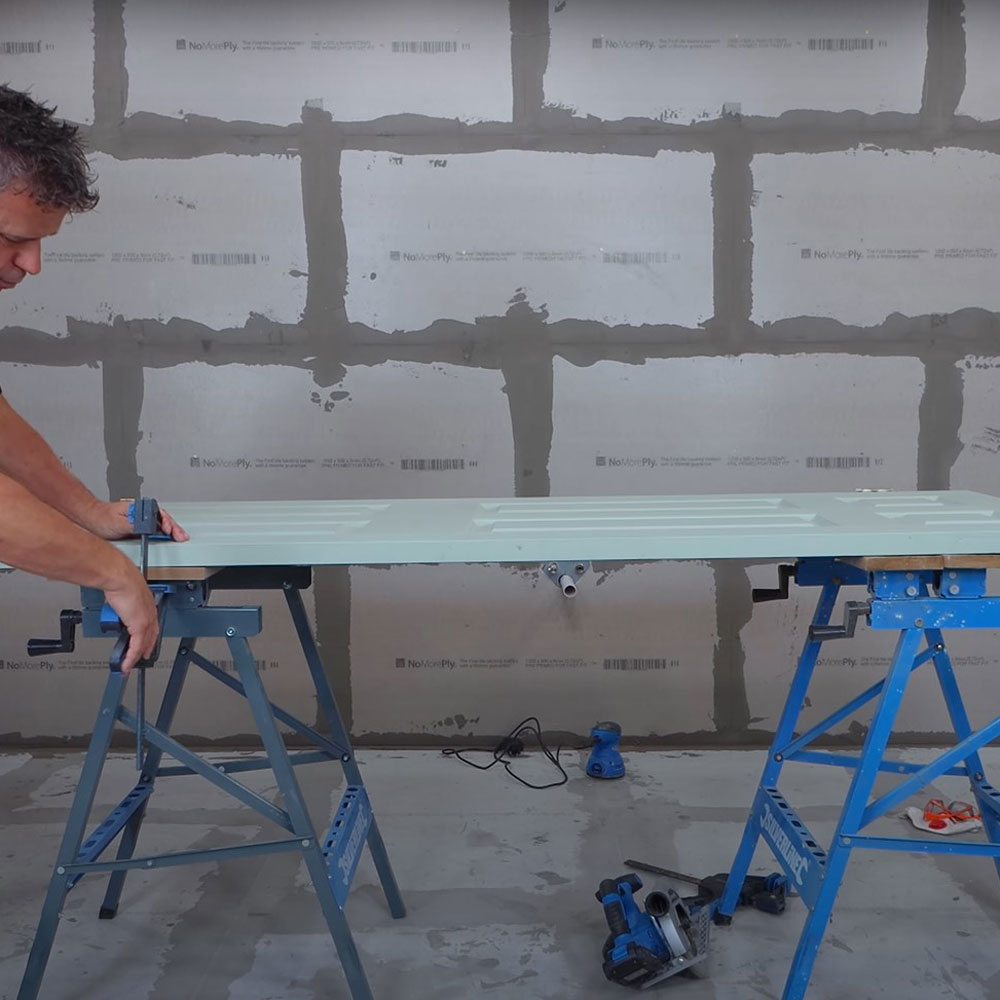
Using your electric screwdriver, unscrew the screws from the hinges holding your door in place to remove it from its frame, ready for you to lay down and cut. Lay this on 2 workbenches supporting either end of the door. If you don’t have workbenches, any flat and sturdy surface will do, providing you can hang the bottom off the edge to cut your marked piece away. Clamp the door onto your workbenches to hold it in position.
3 – Cut away your marked piece
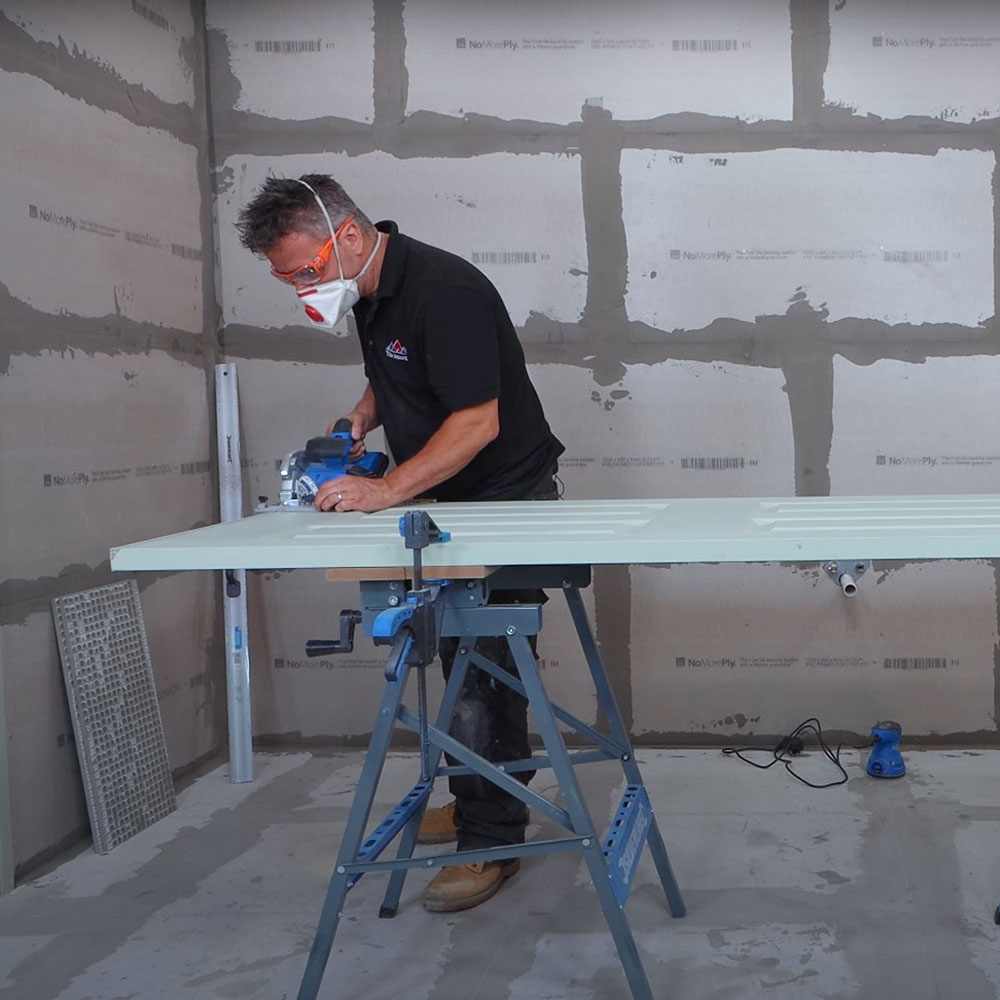
Put on your PPE and use a circular saw to cut away the piece you marked earlier on. If you don’t have a circular saw you can use a handsaw. Use your powered sander or sand paper to smooth the harsh cut edge on the door, removing any splintered pieces.
4 – Reattach the door
Use your electric screwdriver to hang the door back on its hinges. Prop it against something to support the weight if you’re doing this alone. Open and close the door with your two tiles underneath to ensure you’ve cut enough material away. Now you can lay your tiles!

