If you’re considering undertaking an underfloor heating (UFH) installation yourself then there are a few things to consider before cracking on with the job. We’ve previously covered How To Choose Underfloor Heating, explored How To Measure for Underfloor Heating, and taken a closer look at the tools needed to install UFH systems on these very pages, but if you’re all up to speed with those and are about to get your UFH installation underway then read on as we highlight three of the biggest mistakes often made when installing UFH so you know to avoid them…

Choosing The Wrong Floor Covering
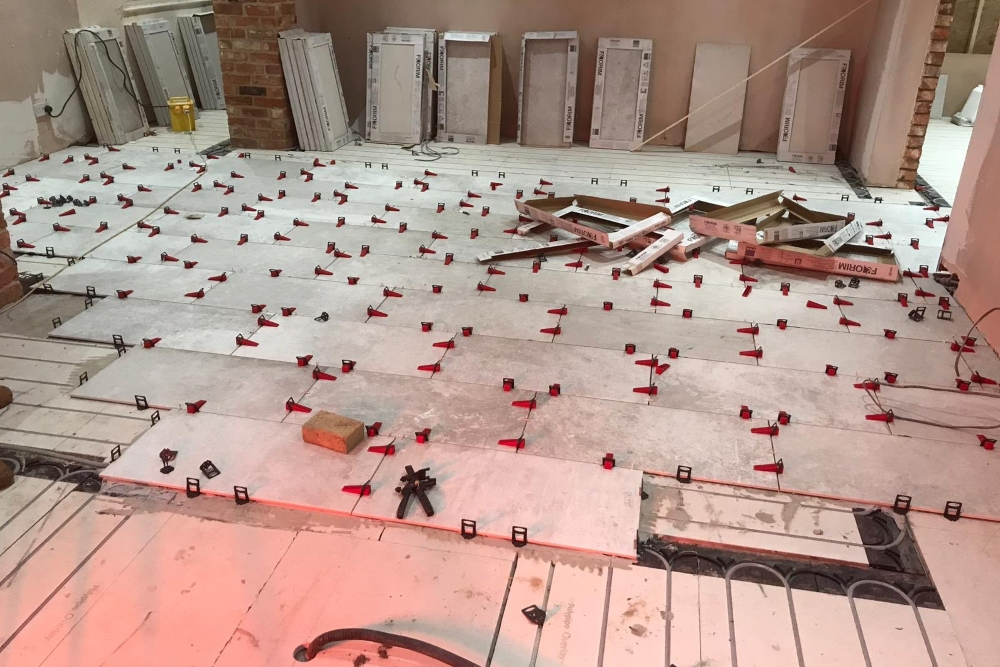
There are several different types of UFH on the market and each has its own compatibility limits when it comes to they type of flooring material being laid on top. As a general rule, solid wood flooring isn’t suitable for use with UFH, regardless of whether its a ‘wet’ system, Mat Kit, or Cable Kit, unless expressly stipulated by the manufacturer. Engineered timber however is generally suitable given that is less prone to movement and expansion when subjected to heat and humidity. Most types of porcelain and ceramic tiles are suitable for use with UFH, as are natural stone tiles including limestone, marble, slate, terracotta, and quarry tiles. However, regardless of whether you’re installing a wet system or electric kit, it’s important to always use a flexible adhesive such as Mapei Keraquick and ensure you have the right sub-floor for the installation…

Installing Onto An Unsuitable Sub-Floor
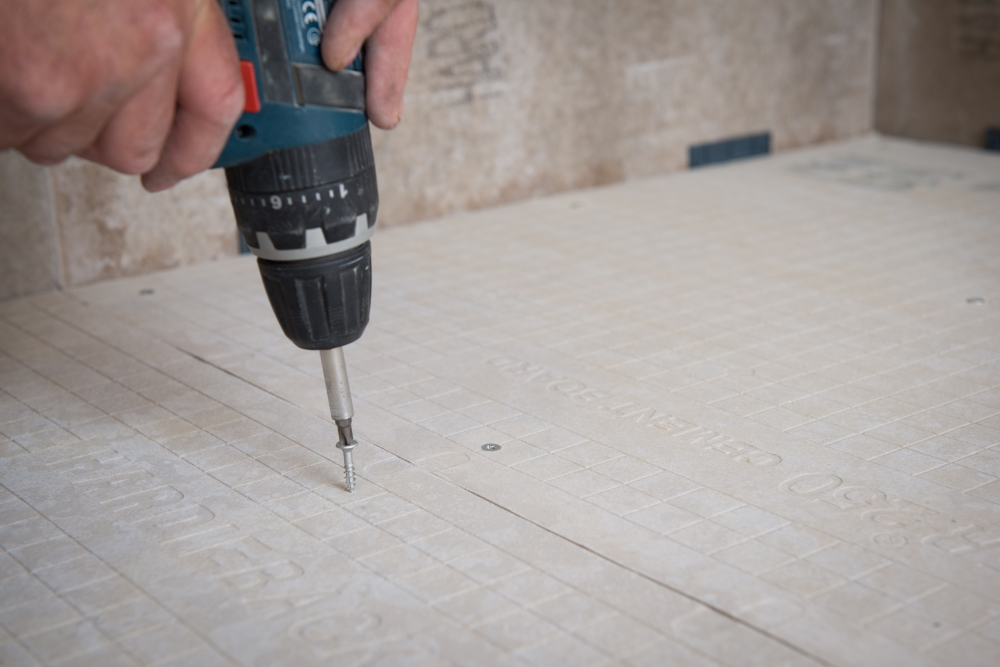
In an ideal world, UFH systems of all types would be installed atop of a fully cured, fully level concrete screed that is between 60mm and 75mm thick. Unfortunately, this isn’t always possible, so you should take the greatest effort to ensure that the sub-floor substrate is suitable for your particular UFH installation. Making sure that your sub-floor is level is always a good place to start – using levelling compound such as Mapei Ultraplan ahead of installing UFH will help prevent cracking (if tiled), hotspots, as well as disperse the heat evenly and also protect the kits during installation. If installing over non-tongue & groove floorboards or joists then you will need to use a backer board, again, making sure that it is suitable for your type of installation. Read our How To Choose The Right Backer Board For Your Tiling Project article for more info.

Failing to Use A Part P Qualified Electrician
Whilst the actual laying of UFH kits is a fairly straightforward task for even the most moderately skilled DIYer, under no circumstances should you attempt to undertake any of the electrical aspects yourself. Installing probes, thermostats and connecting the system to the electricity supply MUST be completed by a fully Part P qualified tradesman. It might be tempting to save a few quid by doing it yourself but risking serious injury and/or a UFH system damaged beyond repair is not a price worth paying. If you need help finding s suitable Part P qualified electrician then sites such as Checkatrade and RatedPeople offer a great way to find and check out all sorts of tradespeople from your locale and beyond in just a few clicks.
Taking heed of the above should see your UFH installation go smoothly, but if you need any further advice you can always give our friendly and helpful customer services guys a call on 01782 223822 or use the LiveChat function on our website and they’ll be happy to help where they can.
Here at Tile Mountain, we not only have a huge range of tiles to suit every purpose, we also have a wealth of tiling knowledge gained from over 30 years in the tile industry, (which we’ll do or best to share with you across these very pages).
Whether you’re looking for the perfect tiles for your next home improvement project, are searching for some style inspiration, or simply need a bit of help and advice, you’re in the right place.
